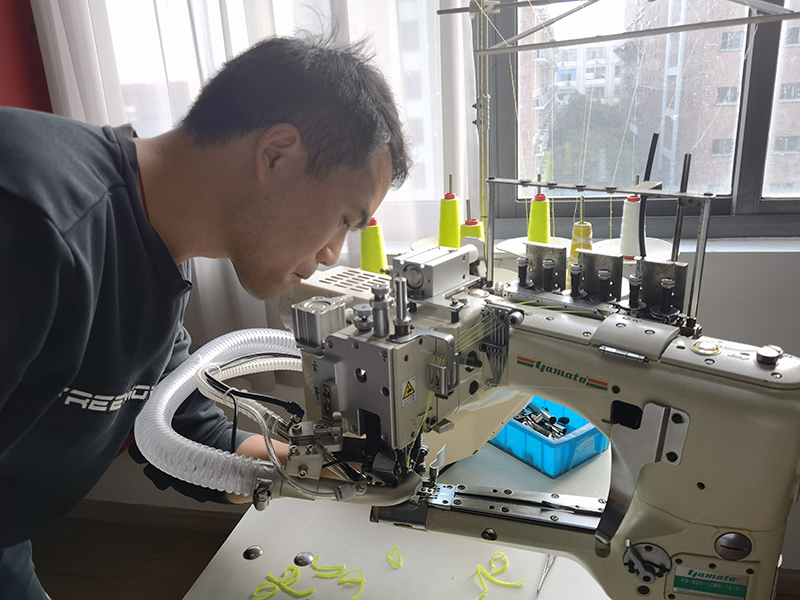
During the sewing process, we often encounter the phenomenon that when the sewing machine is automatically trimming the thread, the end of the thread will come out of the pinhole, or when the sewing stops, or when the thread is trimmed when the car is empty, the thread will fall off. line phenomenon. And wh

en the thread is suddenly cut during exercise, the thread end will be normal. This phenomenon is not a common phenomenon. After adjustments are made, some are OK, while others are unstable.
Failure analysis:
There are mainly the following reasons for this failure:
1: The needle stop position is too low (resulting in relatively premature thread trimming time)
2: Thread trimming time is too early
3: The gap between moving knife and lifting knife is too small
4: The knife edge on the right side of the joint point of the fixed knife and the moving knife is too long
5: The gap between the moving knife and the needle is too large
6: Thread trimming and loosening travel is too small
7: Thread cutting time is too late
8: thread trimming of the Motor & control speed is too fast
Standard Mechanical Position Adjustments & Recommendations:
1. Turn off the automatic thread trimming function, start the machine, step backwards to stop. At this time, observe the position of the thread take-up lever when the electric sewing machine stops, and it should be at a position 1-2mm away from the highest point difference (referring to the top of the thread take-up lever). If not, please adjust the positioning of the hand wheel. The magnetic steel (sheet) refers to the standard position and mark the parking position (do not blindly emphasize the correspondence between the marking points of the casing and the marking points of the hand wheel)
2. Check whether the time for hooking the thread of the rotary hook is appropriate
3. Put the hand wheel in the parking position, turn the machine head, and check the position of the thread trimming cam, whether the highest point of the cam (thread trimming point) is just 2-3mm above the left of the driving ball of the moving knife driving assembly. If not, please make adjustments. (Pay attention to the left and right gap between the cam and the thread trimmer ball, preferably 50 wires)
4. Turn the hand wheel, turn the needle bar to the upper position of the lower needle, manually push the thread trimming electromagnet, and test the thread trimming time. Observe the relative position of the thread transport point of the rotary hook and the center line of the needle when the moving knife starts to move. It should be different from the center line.
5. Turn the hand wheel to the lower needle position, and manually move the thread trimming knife until the tip of the thread dividing knife coincides with the center line of the machine needle. Check that the gap between the two should not be greater than 0.5mm. If not, please adjust the position of the moving knife.
6. Continue to move the moving knife forward, and at the same time turn the hand wheel appropriately, and check that the clearance of the knife should not be less than 0.5mm. When it is rotated until the breaking point of the moving knife (the small protrusion hole on the moving knife) coincides with the fixed knife, the part of the fixed knife on the right side of the overlapping point should not be larger than 1mm. If it is too large, grind off the excess part or replace the fixed knife.
7. Manually push the thread trimming electromagnet to the pull-in state, and check whether the thread clamp is opened by 1mm or so (at this time, the manual presser foot should be in the down state)
8. Motor & control adjustment: Press and hold the P key and the presser foot key at the same time in the power-on state, enter the P10 parameter, and check whether the P10 value is 250. If not, please adjust.
9. Check whether the adjustments are appropriate and then try sewing.
Post time: Nov-21-2022

